ADVERTISEMENT
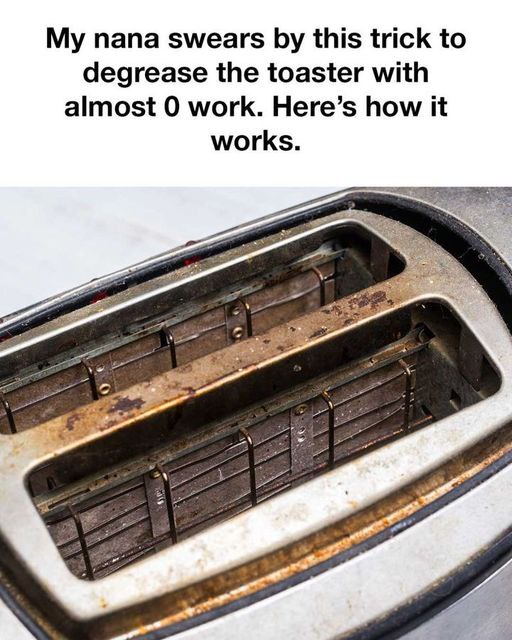
Cleaning a toaster can be surprisingly tricky, especially when it’s caked in grease and crumbs from countless breakfasts. While it’s easy to overlook this appliance in your cleaning routine, a grimy toaster can be unsightly and even affect its performance. But here’s the good news: my nana has a trick up her sleeve that she swears by to degrease a toaster with almost no effort, and today, I’m sharing it with you!
You don’t need any fancy cleaners or special tools. In fact, the secret ingredient is something you probably already have in your kitchen. Curious? Let’s dive into Nana’s foolproof method for getting your toaster looking brand new without the hard work.
The Secret Weapon: White Vinegar and Baking Soda
That’s right—two of the most versatile cleaning agents you likely already own: white vinegar and baking soda. These humble ingredients are fantastic for tackling kitchen grime, and together, they make a dynamic duo for degreasing your toaster. The acidic nature of vinegar helps break down the grease, while baking soda acts as a mild abrasive to scrub off stubborn spots. Plus, they’re both non-toxic and budget-friendly.
Let’s break down the process:
Step 1: Unplug and Prepare the Toaster
Before starting any cleaning, always ensure your toaster is unplugged. Safety first! Once the toaster is cool and disconnected from any power source, take out the crumb tray. If your toaster has removable trays or racks, take those out as well. Shake the toaster upside down over a garbage can or sink to remove any loose crumbs or debris.
Nana’s tip: Shake it gently to avoid damaging the inner heating elements.
Step 2: Tackle the Exterior Grease
Now for the fun part—degreasing. Mix equal parts white vinegar and warm water in a small bowl. Soak a soft cloth or sponge in the solution and wring out the excess. Gently wipe down the exterior of the toaster, focusing on areas with visible grease buildup. The vinegar will immediately start breaking down the oily residue.
If there are any extra stubborn spots, dip the cloth in some baking soda and use it to lightly scrub the area. The baking soda will work as a gentle abrasive without scratching the toaster’s surface. Make sure you avoid the heating elements or any electrical components.
Step 3: Clean the Nooks and Crannies
The crevices of your toaster can collect grease and crumbs over time, making it hard to reach them with just a cloth. For this, Nana uses an old toothbrush or a cotton swab. Dip it in the vinegar solution and gently scrub around the knobs, buttons, and any tight spaces.
For the crumb tray or removable parts, you can soak them in warm water with a splash of vinegar for about 10–15 minutes. This loosens any stubborn grease or crumbs. After soaking, scrub lightly with baking soda and rinse with clean water.
Step 4: Polish It Up
ADVERTISEMENT
