ADVERTISEMENT
Why Homemade Butter?
1. Healthier Option: When you make butter at home, you control the quality of the ingredients. You can choose organic or grass-fed cream, ensuring there are no additives or preservatives.
2. Cost-Effective: Homemade butter can be cheaper than store-bought, especially if you buy cream in bulk or when it’s on sale.
3. Fresh and Delicious: There’s nothing quite like the taste of fresh butter. It’s richer and more flavorful than anything you can buy in the store.
Ingredients and Tools
1 pint (2 cups) of heavy cream: Preferably organic or grass-fed for the healthiest option.
A pinch of salt (optional): For added flavor.
A stand mixer or hand mixer: You can also use a food processor or a mason jar if you prefer a workout!
How to Make Homemade Butter
see next page
Step-by-Step Instructions:
Pour the Cream: Start by pouring the heavy cream into the bowl of your stand mixer or a large mixing bowl if using a hand mixer.
Whip the Cream: Turn the mixer to medium-high speed. The cream will first turn into whipped cream. Continue whipping until the cream separates into butter and buttermilk. This process takes about 5-10 minutes.
Separate the Butter and Buttermilk: Once the butter and buttermilk have separated, pour off the buttermilk (save it for baking or cooking!).
Rinse the Butter: To remove any remaining buttermilk, rinse the butter under cold water. Use a spatula or your hands to press the butter and squeeze out as much buttermilk as possible. This step is crucial for extending the shelf life of your butter.
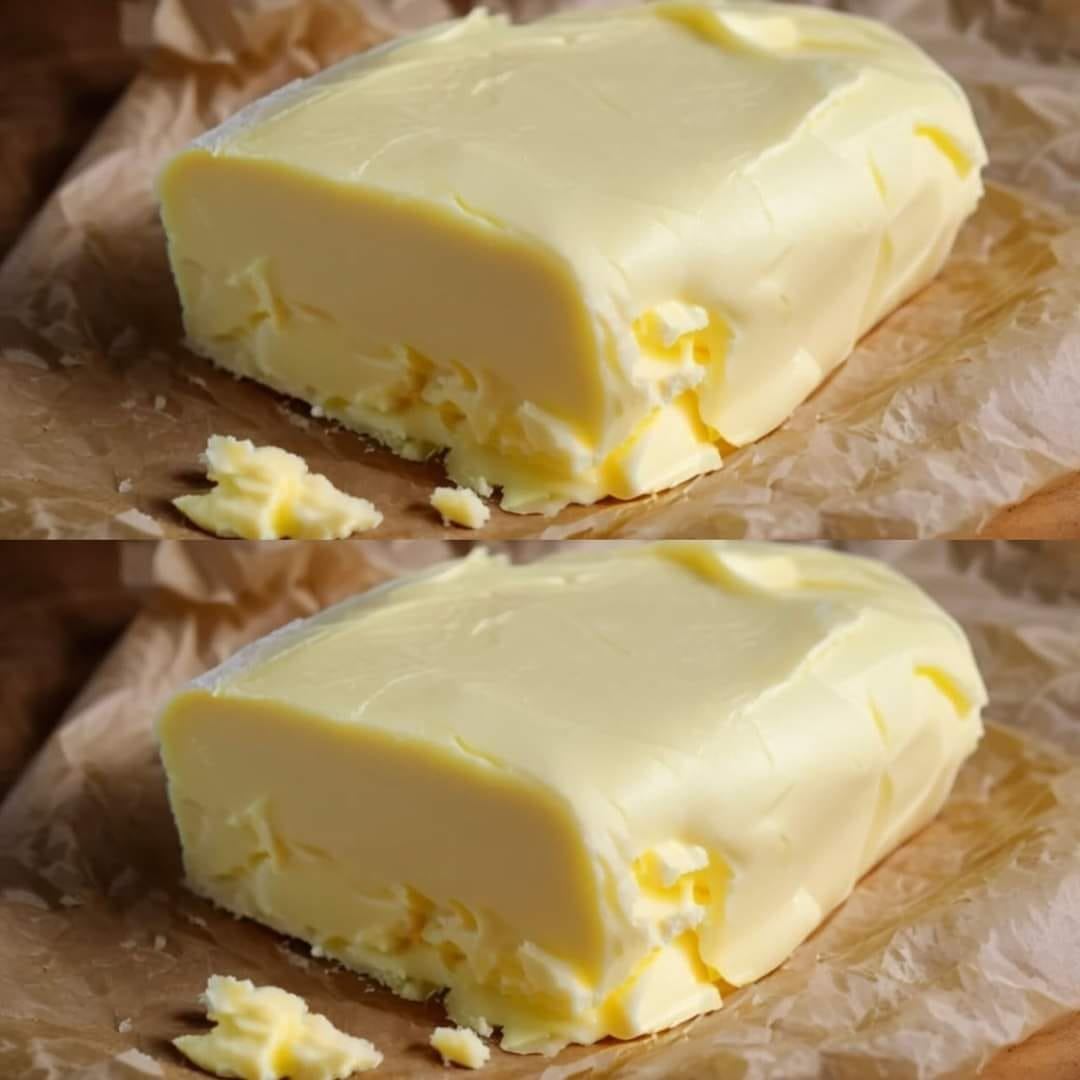
Season and Store: If you like, add a pinch of salt to your butter and mix well. Transfer the butter to a clean container or mold it into a shape using parchment paper. Store in the refrigerator.
Tips for Best Results
ADVERTISEMENT
